


Introduction
Precise heat delivery is a deciding factor in plastic processing, and standard heaters often struggle to match the demands of specific molds, barrels, and resin profiles. This guide explains how a custom heating tube can be engineered around your equipment’s dimensions, watt density, temperature zones, terminations, and operating conditions. You’ll see which production problems customization helps solve, how design choices affect temperature stability and service life, and what specifications matter when selecting or ordering a tube. With that context, the rest of the article walks through the key options and practical criteria for choosing a heating tube that supports consistent output and fewer process disruptions.
Why Heating Tube Customization Matters in Plastic Processing
If you’ve spent any time running plastic injection molding or extrusion lines, you know that temperature control is everything. I’ve seen countless production runs ruined simply because a facility tried to save a few bucks by using off-the-shelf heaters. When you are pushing high-temperature engineering resins or trying to scale up your throughput, standard components often fall short.
That’s exactly why upgrading to a custom Heating Tube isn’t just a luxury—it’s a critical step in stabilizing your entire process. By tailoring the thermal output to your specific machinery, you regain control over your cycle times and product quality.
What defines a custom Heating Tube
When we talk about customization, we aren’t just talking about ordering a non-standard length. A truly tailored tube involves engineering the cold zones, adjusting the bend radii, selecting specific termination types, and mapping the internal resistance wire to match your exact thermal profile.
For instance, in high-precision molds, I always specify a tight dimensional tolerance of +/- 0.05mm on the outer diameter. This ensures a flawless metal-to-metal fit inside the tool, eliminating the microscopic air gaps that cause localized overheating and premature element failure.
Which production problems customization can solve
The right customization directly tackles your most frustrating daily headaches: uneven melt temperatures, rapid component burnout, and polymer degradation. If an Extruder Heater isn’t perfectly matched to the specific shear heat generated by your screw design, you’ll inevitably create hot spots exceeding 300°C, which quickly degrades sensitive plastics like PVC or POM.
By customizing the wattage distribution along the length of the tube, we can compensate for these mechanical heat variations, ensuring a smooth, consistent melt flow and drastically reducing your scrap rate.
Which Heating Tube Specifications to Customize First
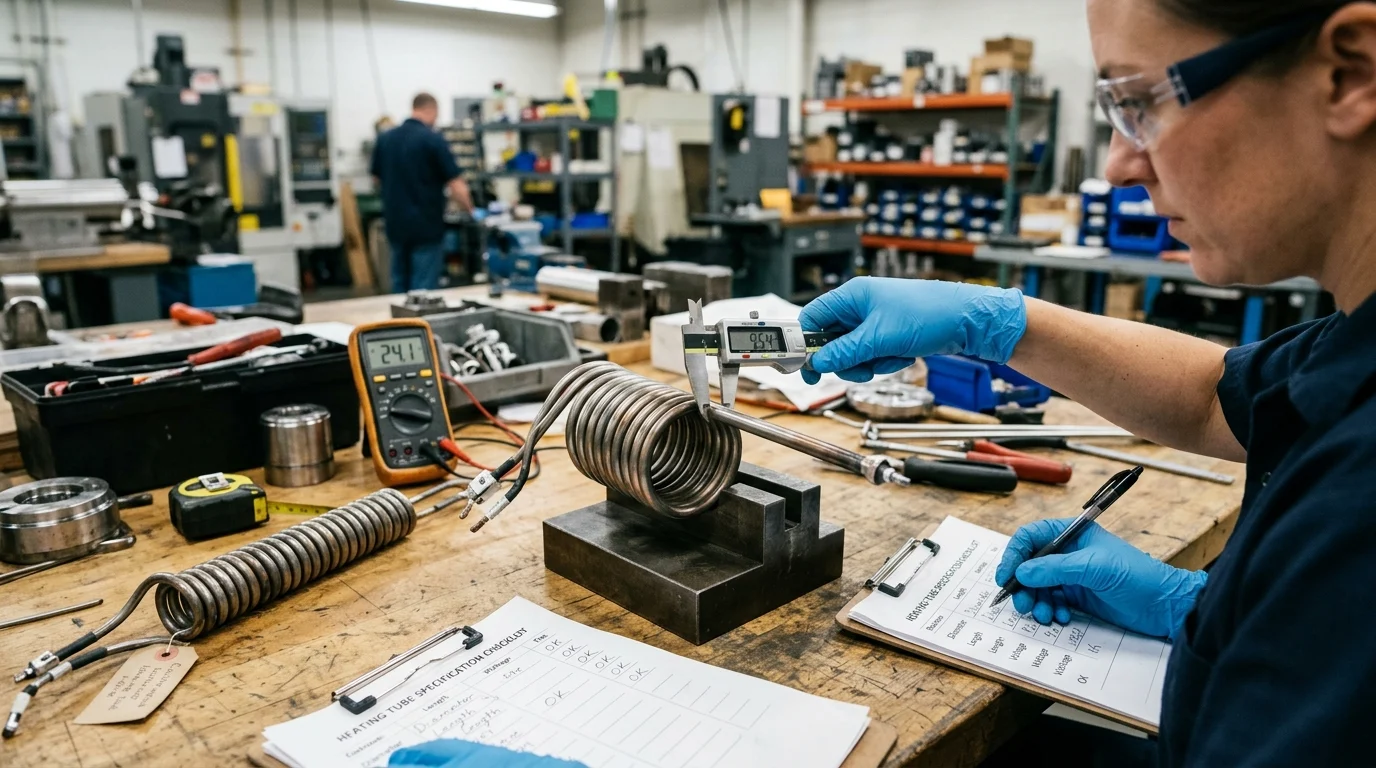
Once you realize you need a custom solution, the next hurdle is figuring out exactly what to specify. When I audit a failing machine, I immediately check four core specifications.
You simply can’t afford to guess these numbers, as they dictate both the safety and the efficiency of your equipment. Getting them right means the difference between a heater that lasts years and one that burns out in weeks.
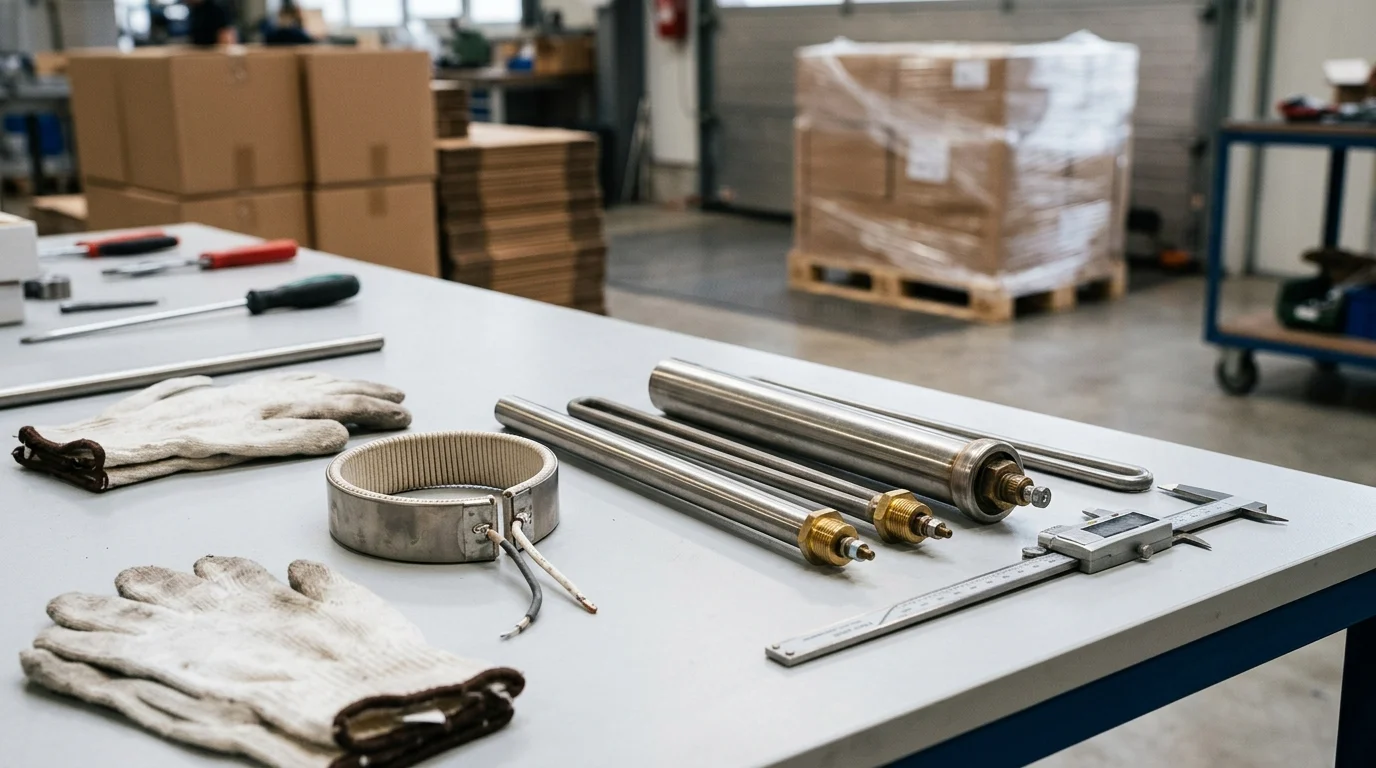
How sheath material, watt density, voltage, and diameter affect performance
The sheath material is your first line of defense; I typically upgrade to Incoloy 800 for high-stress applications because it handles oxidation beautifully up to 870°C, whereas standard 304 stainless steel might scale and fail earlier. Next is watt density, which is arguably the most critical metric.
For general Plastic Processing, I strictly keep watt density below 40 W/in² (roughly 6.2 W/cm²) to prevent the plastic from scorching. Voltage and diameter must then be perfectly aligned with your machine’s relays and the physical bore holes to ensure rapid heat transfer and avoid electrical faults.
How to compare Heating Tube options
To make sense of the upgrade path, I always encourage maintenance teams to look at the hard differences between standard and engineered components. Here is a quick breakdown of how they compare:
| Specification | Standard Off-the-Shelf | Custom Engineered |
|---|---|---|
| Watt Density | Fixed (often >50 W/in²) | Tailored (e.g., <40 W/in² for sensitive resins) |
| Diameter Tolerance | +/- 0.1mm to 0.2mm | Up to +/- 0.02mm for precision fit |
| Lifespan (Average) | 3 to 6 months | 12 to 24+ months |
| Heat Distribution | Uniform across length | Profiled (hotter at ends, cooler in middle) |
Looking at this data, it’s easy to see why the initial investment in customization pays off through reduced downtime and fewer replacement cycles.
How to Choose, Validate, and Source a Custom Heating Tube
Getting the specifications right on paper is only half the battle. To actually see these benefits on your factory floor, we need to carefully validate the design and choose a manufacturing partner capable of delivering consistent quality.
Here is the exact approach I use to bring a custom design from a blueprint to a live production machine without risking thousands of dollars in downtime.
What step-by-step selection process to follow
First, audit your current failures—look at where the old tubes are burning out. Is it near the lead wires, or in the center of the barrel? Second, calculate your required watt density based on the mass of the plastic and your target cycle time.
Third, prototype. I never roll out a new design across the whole floor at once. Instead, I request a small prototype batch—usually a Minimum Order Quantity (MOQ) of 5 to 10 units—and run a rigorous 500-hour continuous stress test on a single machine. This validates the thermal profile and durability before making a larger financial commitment.
How to make the final supplier decision
When you’re ready to buy, your choice of supplier makes all the difference. You need a partner who deeply understands the brutal demands placed on a Barrel Heater or an OEM Heating Element. I evaluate suppliers based on two strict criteria: lead time and defect rates.
A reliable manufacturer should be able to turn around a custom batch in 2 to 3 weeks, rather than making you wait months. More importantly, ask for their quality assurance data. I look for partners who guarantee a defect rate of less than 0.5% and who 100% dielectric withstand (hipot) test their heaters before shipping. That’s the kind of reliability that keeps your plastic machinery running smoothly shift after shift.
Key Takeaways
- The most important conclusions and rationale for Heating Tube
- Specs, compliance, and risk checks worth validating before you commit
- Practical next steps and caveats readers can apply immediately
Frequently Asked Questions
Why should I choose a custom heating tube instead of a standard one?
A custom heating tube matches your machine’s bore, voltage, and thermal profile, reducing hot spots, scrap, and premature burnout. It also helps stabilize cycle times in injection molding and extrusion.
Which specifications should I customize first?
Start with sheath material, watt density, voltage, and diameter tolerance. For plastic machinery, keeping watt density below 40 W/in² is a practical baseline to avoid resin scorching.
What sheath material is best for high-temperature plastic processing?
Incoloy 800 is often preferred for demanding applications because it resists oxidation better than standard 304 stainless steel and performs reliably at higher temperatures.
How tight should heating tube diameter tolerance be?
For precision molds, aim for about ±0.05 mm or tighter when needed. A close fit improves heat transfer, minimizes air gaps, and extends heater service life.
How can Jingwei Heat help with custom heating tube sourcing?
Jingwei Heat can support custom heating tube design based on your machine dimensions, voltage, wattage, and application needs, helping you order a more accurate, production-ready solution.
Post time: Apr-29-2026