


Silicone rubber heating pad installation methods are diverse, there are direct paste, screw lock hole, binding, buckle, button, pressing, etc., need to choose the suitable silicone heater installation method according to the shape, size, space and application environment of silicone heating mat. Each silicone heater bed for 3d printer installation style and application characteristics are also different, summarized as follows, you can refer to the style combined with the actual application of silicone heater pad to choose the appropriate installation method.
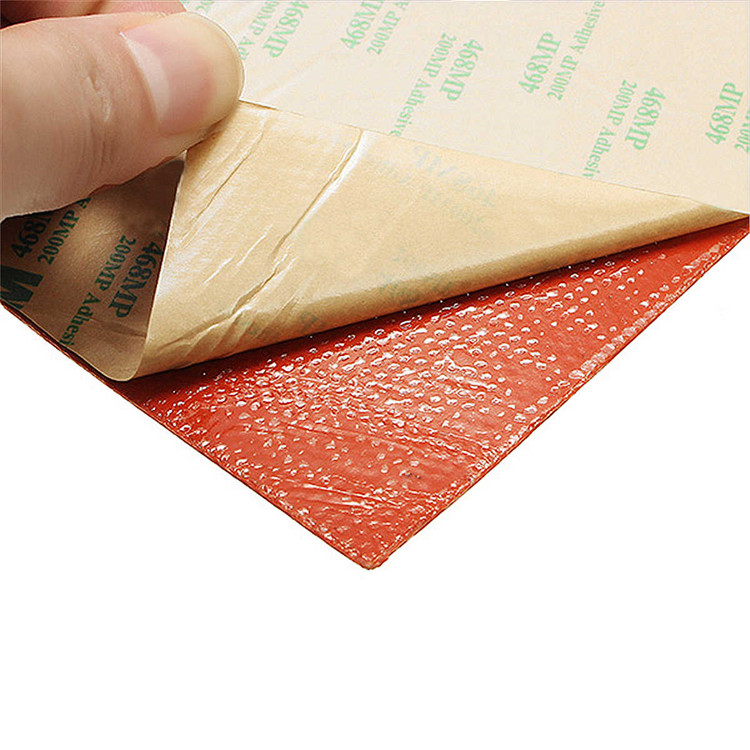
1. PSA (pressure sensitive adhesive or pressure sensitive adhesive double-sided tape) paste and install
PSA pressure sensitive adhesive is easy to install, it is necessary to specify the type of pressure sensitive adhesive and the required strength. Silicone heater PSA mounting method Installation is simple: just tear off the protective lining and apply. It adheres to most clean, smooth surfaces. When installing, attention must be paid to the smooth, consistent and uniform adhesion of the surface to achieve the best results.
Maximum temperature of application:
Continuous – 300°F (149°C)
Intermittent – 500°F (260°C)
Recommended power density: less than 5 W/in2 (0.78 W/cm2)
The PSA can be mounted in a reinforced manner by vulcanizing a layer of aluminum foil on the back of the heater to increase heat dissipation before using the PSA.
In order to obtain the expected life of the flexible silicone rubber heater, attention must be paid to the correct installation. Do not leave any air bubbles under the heater, regardless of the installation technique used; The presence of air bubbles can cause overheating of the bubble area of the heating pad or possible premature heater failure. Use a rubber roller on the surface of the silicone heater to ensure good adhesion.
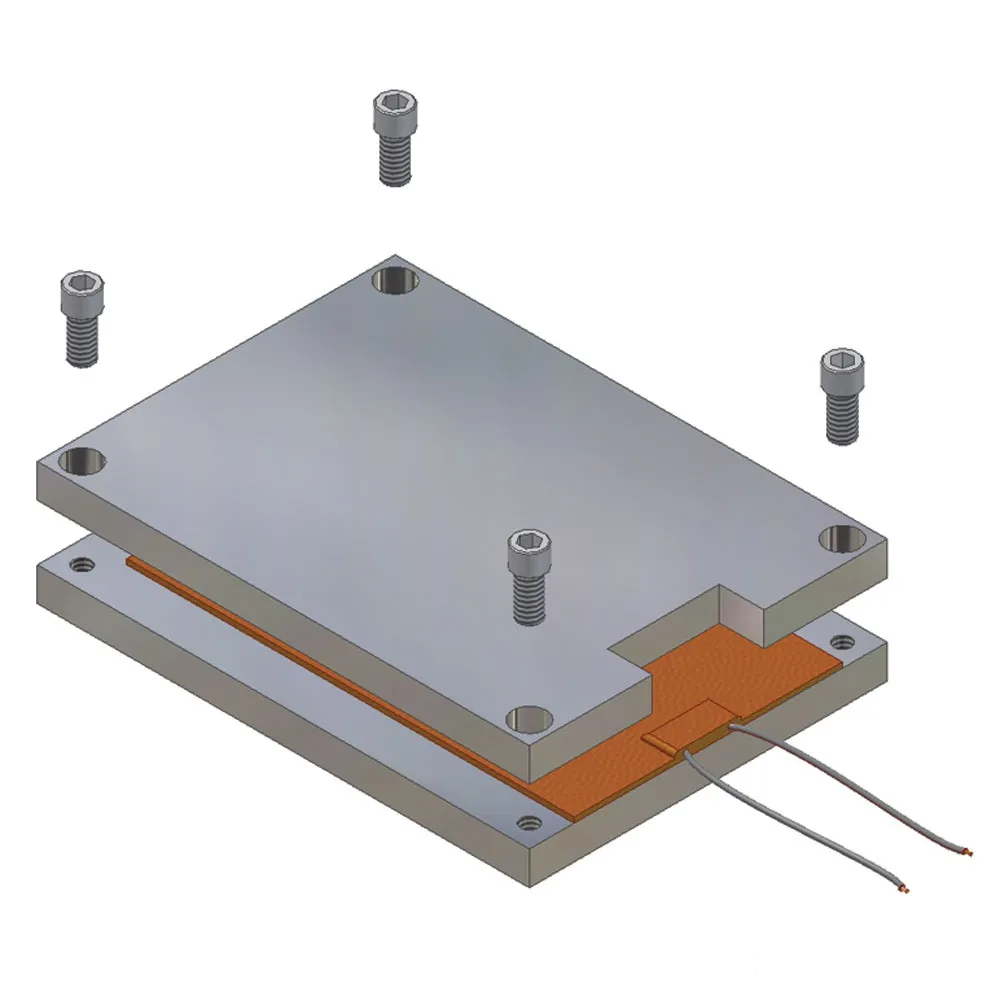
2. Clamp the perforated screws
Silicone heater pads can be applied by clamping or compressing screws between two rigid materials. The surface of the board must be polished fairly smooth.
Care must be taken not to damage the heater or puncture the insulation. An area or cut is milled out in the top plate to increase the thickness of the lead outlet area.
Recommended maximum pressure: 40 PSI
In order to increase durability, it is necessary to reserve the installation space of the heater to have the same thickness as the heater.
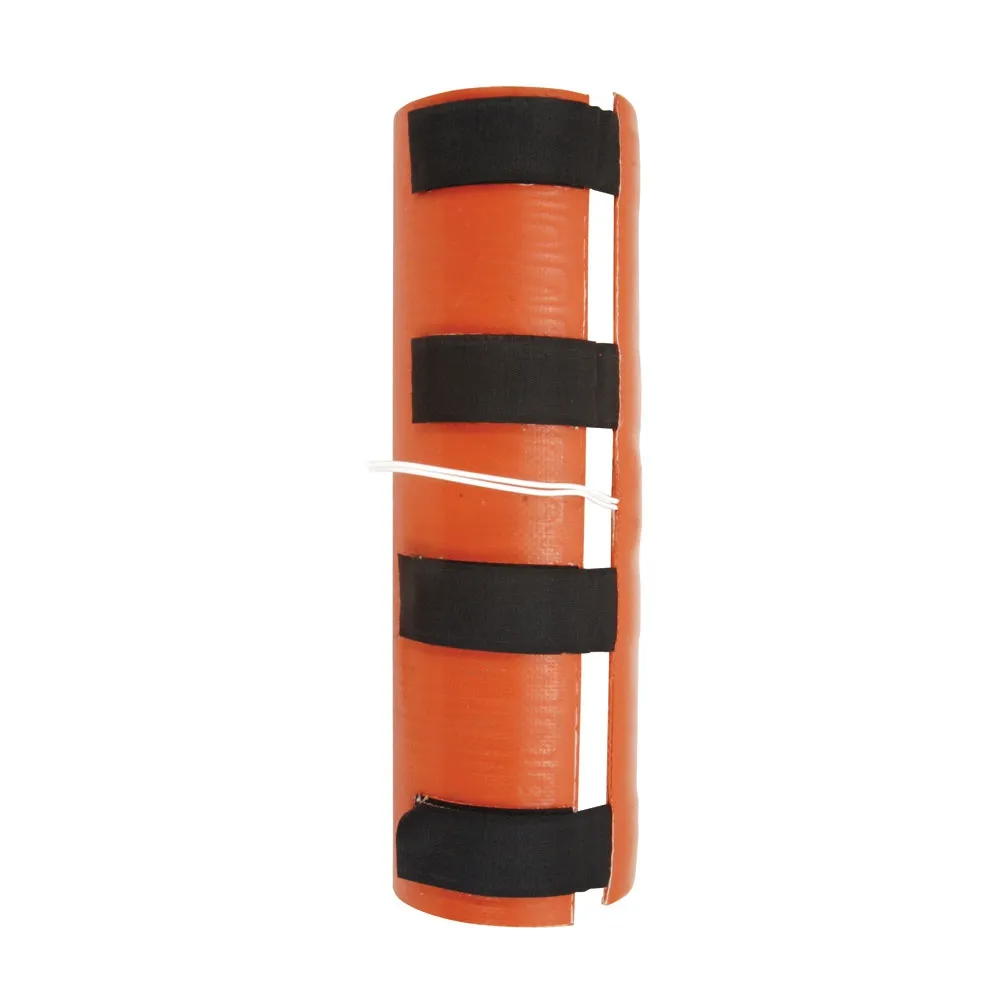
3. Velcro tape installation
The Magic belt mounting method can be used for mechanical fasteners where flexible silicone heating pad must be separated from cylindrical parts.
Magic belt silicone heating mats installation, installation and disassembly are very easy to use.
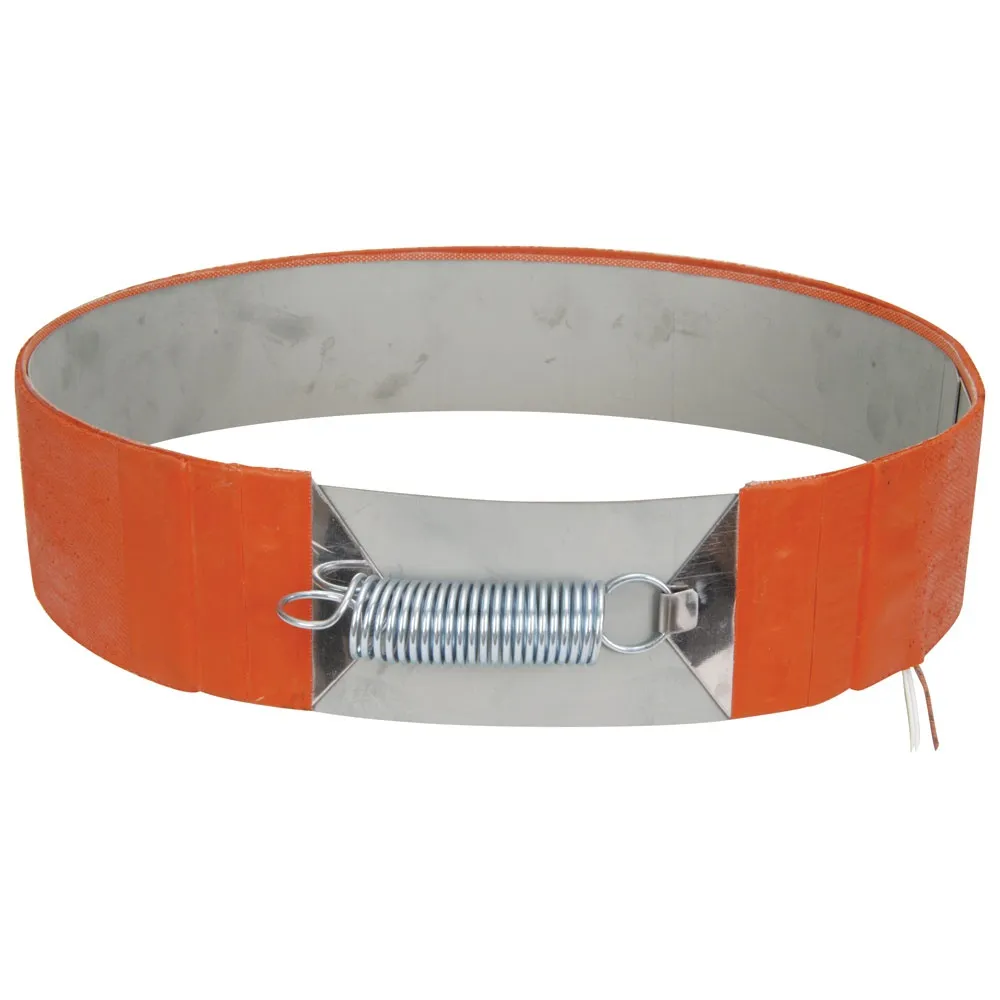
4. Guide hook and spring mounting method
The mounting of the guide hook and spring in everyday applications can be used for mechanical fasteners where 220V electric silicone heaters must be separated from cylindrical parts.
Guide hook and spring silicone heating plate installation, easy to install and disassemble.
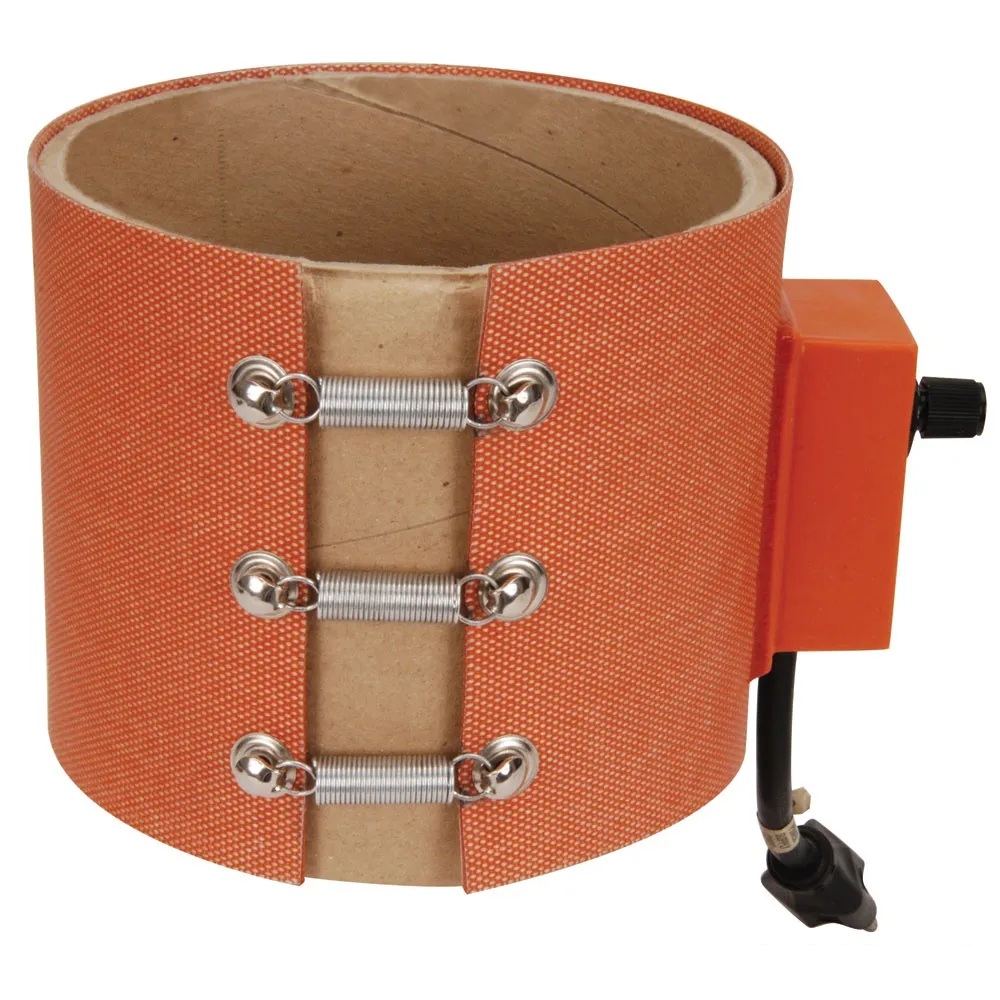
5. Heavy spring clamp installation method
Heavy-duty spring clamp mounting can be used for mechanical fasteners where silicone heaters must be separated from cylindrical parts.
Heavy spring clamp installation method to install silicone heating sheet, installation and disassembly are easy to use. The fastness is also good.
The silicone rubber heater installation mode needs to be selected according to the shape, size, space, and application environment of the silicone heater. The heater is a special customized product, which needs to be communicated during customization, or provide detailed requirements.
Post time: Dec-09-2023