


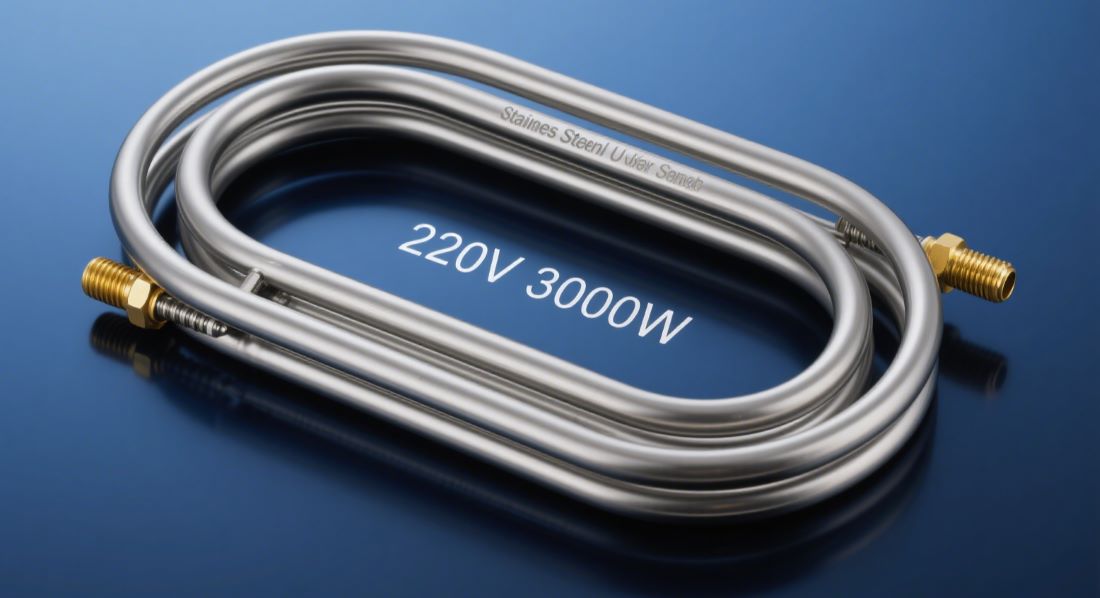
Are you tired of taking lukewarm showers? Inconsistent heating can be frustrating. Testing your water heater element might reveal the issue. A faulty heating element for water heater systems can lead to these problems. Let’s explore how you can test the water heater heating element yourself! By checking the water heating element, you can determine if it’s functioning properly. If you find that the hot water heating element is defective, it may be time for a replacement.
Key Takeaways
- Gather essential tools like a multimeter, screwdrivers, and safety gear before testing your water heater element.
- Always turn off the power to your water heater at the breaker before starting any testing to ensure your safety.
- Look for common signs of a faulty water heater element, such as no hot water, inconsistent temperatures, or strange noises.
Tools for Testing Your Water Heater Element
Before diving into testing your water heater element, gather the right tools. Having the proper equipment makes the process smoother and safer. Here’s what you’ll need:
Multimeter
A multimeter is essential for measuring electrical resistance in your water heater element. It’s the most reliable tool for this job. While some homeowners might try using basic continuity testers, they often don’t provide accurate results. A digital multimeter with an ohms feature is the best choice. This tool allows you to check if the heating element is functioning properly.
Screwdriver
You’ll need both a flathead and a Phillips screwdriver to access the water heater element. These tools help you remove the access panels and secure the element in place. Make sure to have them handy before you start.
Safety Gear
Safety should always come first. Before testing, wear safety goggles and gloves to protect yourself from any electrical hazards. It’s also wise to have a non-contact voltage tester to ensure the power is off before you begin working on the heater.
Tip: Always double-check that the power is turned off to avoid any accidents while testing your water heater element.
By gathering these tools, you’ll be well-prepared to test your water heater element effectively and safely.
Step-by-Step Guide to Test Your Water Heater Element

Testing your water heater element might seem daunting, but it’s quite manageable if you follow these steps. Let’s break it down:
Turn Off Power
The first and most crucial step is to turn off the power to your water heater. Safety organizations recommend this as the very first action. Here’s what you need to do:
- Turn off power to the hot water heater at the breaker.
- Ensure you switch off the circuit breaker before touching any part of your electric water heater.
Failing to do this can lead to serious risks, including electric shock. Always prioritize your safety by ensuring the power is completely off before proceeding.
Access the Element
Once the power is off, you can access the water heater element. Here’s a quick checklist to guide you through this process:
- Turn off electrical power to the water heater to prevent electric shock.
- Close the cold water supply valve feeding the water heater tank.
- Drain the hot water tank by connecting a hose to the drain valve.
- Remove the access covers over the heating elements and insulation.
- Disconnect the electrical wires from the water heater element.
- Remove the heating element from the tank.
- Remove the sealing gasket from the old element.
Improper access can lead to electrical shock or damage to components, which can affect the accuracy of your testing results. So, take your time and follow these steps carefully.
Set Up the Multimeter
Now it’s time to set up your multimeter. This tool is essential for measuring the resistance of the water heater element. Follow these steps:
- Turn on your multimeter.
- Set the dial to the lowest ohms (Ω) setting. This allows you to measure resistance accurately.
- Disconnect the wires from the water heater element’s terminals. It’s a good idea to take a photo or label the wires for easy reconnection later.
- Make sure your hands are dry and wear insulated gloves.
Tip: Always double-check the multimeter’s settings before you begin. Incorrect settings can lead to mistakes or even damage your device.
Measure Resistance
With everything set up, you can now measure the resistance of the water heater element. Here’s how to do it:
- Place the multimeter probes on the terminals of the heating element.
- Read the resistance value displayed on the multimeter.
The typical resistance range for a functional water heater element varies based on its specifications. Here’s a quick reference:
| Voltage | Wattage | Typical Resistance (Ohms) |
|---|---|---|
| 120V | 1500W | 10 |
| 120V | 2000W | 7 |
| 240V | 1500W | 38 |
| 240V | 3500W | 16 |
If the resistance falls outside the recommended range, it may indicate a faulty water heater element.
Note: The resistance of a heating element increases as it heats up. Therefore, when measuring resistance at room temperature, expect a lower value than what you would see at operating temperature.
By following these steps, you can effectively test your water heater element and determine if it’s functioning properly.
Common Signs of a Faulty Water Heater Element
When it comes to water heaters, certain signs can indicate that the water heater element is not functioning properly. Recognizing these signs early can save you from bigger issues down the line. Here are some common symptoms to watch for:
No Hot Water
One of the most obvious signs of a faulty water heater element is the absence of hot water. If you turn on the faucet and only cold water flows, it’s time to investigate. Here are a few things to consider:
- Check the Power: Ensure your water heater is powered on. A tripped circuit breaker could be the culprit.
- Inspect the Element: If the power is fine, the heating element might be defective. A malfunctioning element can prevent the water from heating at all.
- Sediment Buildup: Sometimes, sediment can accumulate and block the heating element, leading to lukewarm water instead of hot.
If you notice that your water heater isn’t producing hot water, it’s essential to take action quickly.
Inconsistent Water Temperature
Another common issue is inconsistent water temperature. You might experience hot showers that suddenly turn cold. This fluctuation can be frustrating. Here are some reasons why this might happen:
- Malfunctioning Thermostat: A faulty thermostat can lead to improper regulation of water temperature.
- Sediment Buildup: Over time, sediment can insulate the heating elements, making it difficult to maintain the desired temperature.
- Failed Heating Elements: If one or both heating elements are failing, you’ll likely notice temperature variations.
If you find yourself adjusting the temperature frequently, it might be time to check the water heater element.
Strange Noises
Strange noises coming from your water heater can also signal trouble. Here are some sounds to listen for:
- Banging or Popping: This noise often results from sediment buildup at the bottom of the tank. As water heats, it can create mini-explosions, leading to these sounds.
- Buzzing or Humming: If you hear buzzing or humming, it could indicate loose or malfunctioning heating elements.
- Knocking or Hammering: High water pressure can cause pipes to bang together, creating a knocking sound.
These noises can be annoying, but they also serve as warnings. If you hear any unusual sounds, it’s best to investigate further.
By keeping an eye out for these signs, you can determine if your water heater element is faulty. Addressing these issues early can help you avoid costly repairs or replacements down the line.
Testing your water heater element is a straightforward process. If you find it faulty, consider these steps for replacement:
- Open a hot water faucet and let it run until cool.
- Turn off the cold water supply.
- Drain the tank completely.
- Remove the old element and install a new one.
Regular maintenance can help prevent future issues. Check your heating elements annually and flush the tank to keep everything running smoothly.
Post time: Sep-03-2025