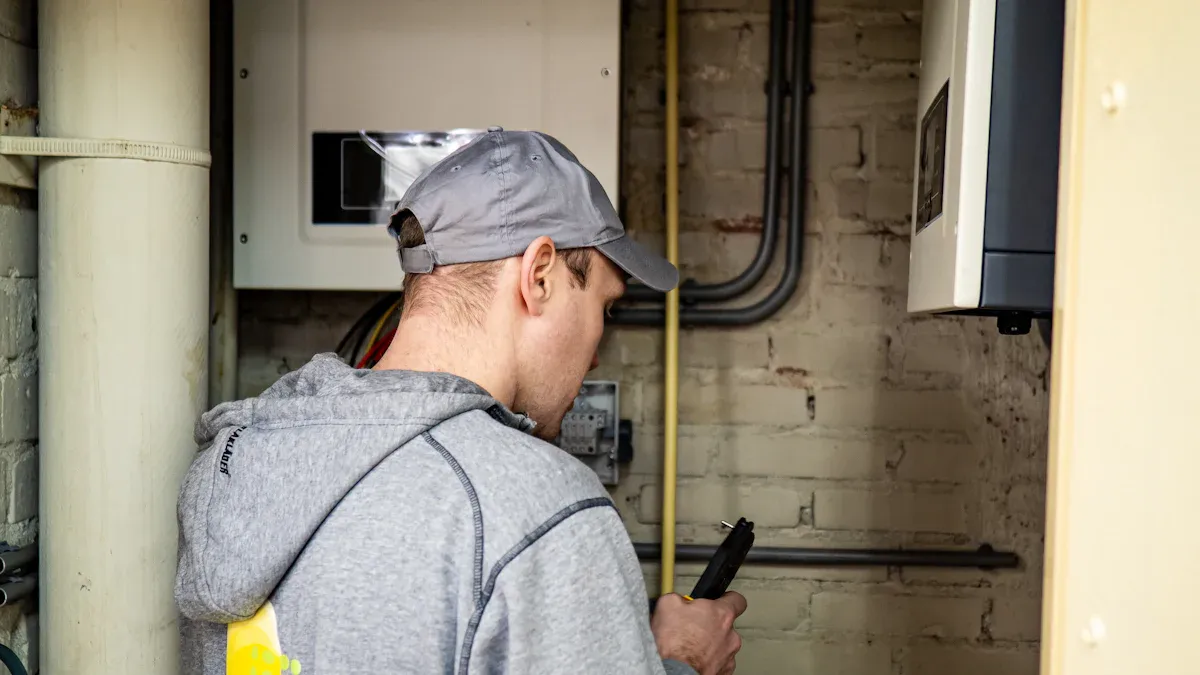
Many people think replacing a water heater heating element is straightforward, but real risks are involved. Electrical hazards, hot water burns, and water damage can occur if someone skips important steps or lacks experience. For example, they might forget to cut power to the water heater electric or properly drain the immersion water heater before starting. Using the correct water heater element and handling the hot water heating element carefully is essential for safety.
Key Takeaways
- Replacing a water heater element needs basic plumbing and electrical skills plus the right tools to stay safe and avoid damage.
- Always turn off power and drain the tank before starting to prevent electrical shock and water leaks.
- Call a professional if you see leaks, corrosion, strange noises, or if the heater is old or under warranty to avoid risks and keep coverage.
When You Can Safely Replace a Water Heater Element

Skills and Knowledge Needed
Anyone thinking about replacing a water heater element should have some basic plumbing and electrical skills. People with experience in these areas usually find the job easier and safer. Here are the main skills needed:
- Turn off the power at the circuit breaker to avoid electrical shock.
- Shut off the water supply to stop water flow during the repair.
- Drain the water heater tank using a garden hose and the pressure relief valve.
- Use tools like a screwdriver, adjustable wrench, voltage tester, and a heating element wrench.
- Test for power with a voltage tester before touching any wires.
- Disconnect wires carefully and remember their placement for reconnection.
- Remove the old water heater element with the right tool and steady pressure.
- Install the new element, making sure it fits snugly and threads correctly.
- Reconnect wires based on notes or photos taken earlier.
- Replace and secure access panels.
- Refill the tank by turning the water supply back on, then restore power.
- Check for leaks and make sure the water heater works after installation.
Tip: People should also know how to inspect and replace gaskets to prevent leaks. If someone feels unsure at any step, it is best to call a professional.
Having prior plumbing or electrical experience helps a lot. People with this background usually avoid common mistakes and finish the job faster. Those without experience may face safety hazards or damage the water heater. If someone feels unsure, calling a licensed plumber or electrician is always a safe choice.
Tools and Safety Equipment Required
Replacing a water heater element requires some special tools and safety gear. Most households have basic tools, but some items are more specialized.
-
Essential Tools:
- Water heater element wrench (special tool, not always found at home)
- Multimeter (for checking electrical circuits)
- Phillips screwdriver
- Flathead screwdriver
- Garden hose (for draining the tank)
-
Safety Equipment:
- Insulated gloves
- Safety goggles
- Voltage tester
Note: Always turn off the power at the breaker box before starting. Never work on a water heater element if the tank is not drained or if the element is not submerged in water when powered on. Dry-firing the element can destroy it.
People who have these tools and know how to use them can usually handle the job. The water heater element wrench is the tool most homeowners do not have, so they may need to buy or borrow one.
Basic Steps for Replacement
Replacing a water heater element takes about 2 to 3 hours for most people. Here are the basic steps:
- Open a hot water faucet and let the water run until it feels cool.
- Turn off the cold water supply to the heater.
- Attach a garden hose to the drain valve and drain the tank completely.
- Remove the old water heater element using the element wrench.
- Check that the new element matches the voltage and wattage listed on the heater’s data plate.
- Clean the threads on the tank opening and install a new gasket, using a bit of dish soap for lubrication.
- Install and tighten the new element securely, but do not overtighten.
- Reconnect the power wires, making sure the connections are tight.
- Close the drain valve and refill the tank by turning on the cold water supply.
- Open a hot water faucet and let it run for three minutes to remove air from the tank.
- Check for leaks around the new element. Tighten or replace the gasket if needed.
- Replace insulation and covers to prevent fire and electric shock.
- Turn the power back on at the breaker and wait up to two hours for the water to heat.
If the water heater does not work after replacement, check that the tank is full before turning on the power. Use a multimeter to check for power and test the new element if needed. If problems continue, call a professional.
Common mistakes include using the wrong tools, damaging the threads, or not connecting the ground wire properly. People should take their time and follow each step carefully to avoid leaks or electrical hazards.
When You Should Not Replace a Water Heater Element Yourself

Safety Risks and Warning Signs
Replacing a Water Heater Element might seem easy, but some warning signs mean it’s time to call a professional. People often notice leaks around the water heater, especially near corroded pipes or the tank. These leaks can cause water damage and mold. Reddish or rusty water coming from faucets signals corrosion inside the tank. Strange noises like popping, hissing, or crackling often mean sediment has built up on the element. This makes repairs harder and can damage the system.
Electrical problems are another big risk. If the breaker trips often or there is a burnt wiring smell, the water heater may have serious electrical issues. Visible corrosion or damage to any part of the heater is a sign to stop and get help. The age of the water heater matters too. Most units last about 8-10 years. If the heater is old, replacement might be safer than repair.
⚠️ Tip: If someone feels unsure or sees any of these warning signs, they should always shut off power and water before doing anything. Calling a licensed plumber is the safest choice.
Legal and Warranty Considerations
Laws and codes can make DIY repairs risky. In places like California, strict rules control how people install or replace water heaters. The law requires special bracing and labeling for safety. Homeowners must use approved parts and follow rules about earthquake safety. Local inspectors check for these things, and failing to follow the rules can lead to fines or failed inspections.
Manufacturer warranties also matter. Most companies void the warranty if someone who is not licensed does the repair. Professional repairs keep the warranty valid and cover defects. Labor warranties from plumbing companies are short, usually about 90 days. If a homeowner tries to fix the Water Heater Element themselves, they risk losing coverage for future problems.
| Common Warranty Exclusions | Explanation |
|---|---|
| Improper installation | Warranty is void if a non-professional installs the element. |
| Unauthorized repairs | Any repair not approved by the manufacturer can cancel the warranty. |
| Lack of maintenance | Skipping regular maintenance means the warranty may not apply. |
| Wrong parts used | Using parts not approved by the manufacturer can end coverage. |
Post time: Aug-19-2025


