


Many people feel nervous about replacing an oven heating element. They might think only a professional can fix an oven element or an oven heat element. Safety comes first. Always unplug the oven heater before starting. With care, anyone can handle oven elements and get the job done right.
Key Takeaways
- Always turn off the oven’s power at the breaker before starting to stay safe from electric shock.
- Gather all necessary tools and materials, including safety gear, before removing the old heating element.
- Carefully disconnect and reconnect wires, secure the new element properly, and test the oven to ensure it heats correctly.
Oven Heating Element: What You’ll Need
Tools Required
Anyone starting this project will want to gather the right tools first. A Phillips or flathead screwdriver works for most ovens. Some ovens use both types of screws, so it helps to check before starting. Safety glasses protect eyes from dust or debris. Gloves keep hands safe from sharp edges and hot surfaces. A wire brush or a piece of sandpaper can clean electrical contacts if they look dirty or rusty. Many people also use a small container to hold screws and tiny parts. This keeps everything organized and easy to find later.
Tip: Always keep the oven’s user manual nearby. It can show the exact screw type or part number needed for the oven heating element.
Materials Checklist
Before replacing the oven heating element, it helps to have all materials ready. Here is a handy checklist:
- Replacement heating element (make sure it matches the oven model)
- Screwdriver (Phillips or flathead, depending on the oven)
- Safety glasses
- Gloves
- Wire brush or sandpaper (for cleaning electrical contacts)
- Small container for screws
- Non-abrasive cleaner and soft brush or sponge (for cleaning the oven interior)
- Power disconnection method (unplug or switch off the circuit breaker)
- Oven racks removed and set aside
A quick visual inspection of the old element helps spot cracks, breaks, or discoloration. If unsure about the right part, checking the oven’s manual or asking a professional can help. Having everything ready makes the job smoother and safer.
Oven Heating Element: Safety Precautions
Turning Off Power at the Breaker
Safety always comes first when working with electricity. Before anyone touches an oven heating element, they should turn off the power at the breaker. This step keeps everyone safe from electric shock or burns. Here’s a simple checklist for turning off the power:
- Find the circuit breaker that controls the oven.
- Switch the breaker to the “off” position.
- Place a sign or note on the panel to remind others not to turn it back on.
- Use insulated tools and wear safety goggles and rubber gloves.
- Test the oven with a voltage tester to make sure it has no power.
The Electrical Safety Foundation International reports that many injuries happen when people skip these steps. Lockout/tagout procedures and checking for voltage help prevent accidents. Following these steps protects everyone in the home.
Tip: Never rush this part. Taking a few extra minutes can prevent serious injuries.
Confirming the Oven Is Safe to Work On
After turning off the power, it’s important to check that the oven is safe. People should look for any signs of damage or loose wires. For electric ovens, they need to make sure all connections are secure. For gas ovens, they should check for gas leaks before starting. Clearing the area around the oven helps prevent trips or falls.
- Read the oven’s manual for model-specific instructions.
- Make sure the oven fits the space and matches power needs.
- Inspect the oven for cracks, broken parts, or exposed wires.
- Wear gloves and safety glasses to protect hands and eyes.
If anyone feels unsure about a step, they should call a professional. Safety matters most when working with an oven heating element.
Removing the Old Oven Heating Element
Taking Out Oven Racks
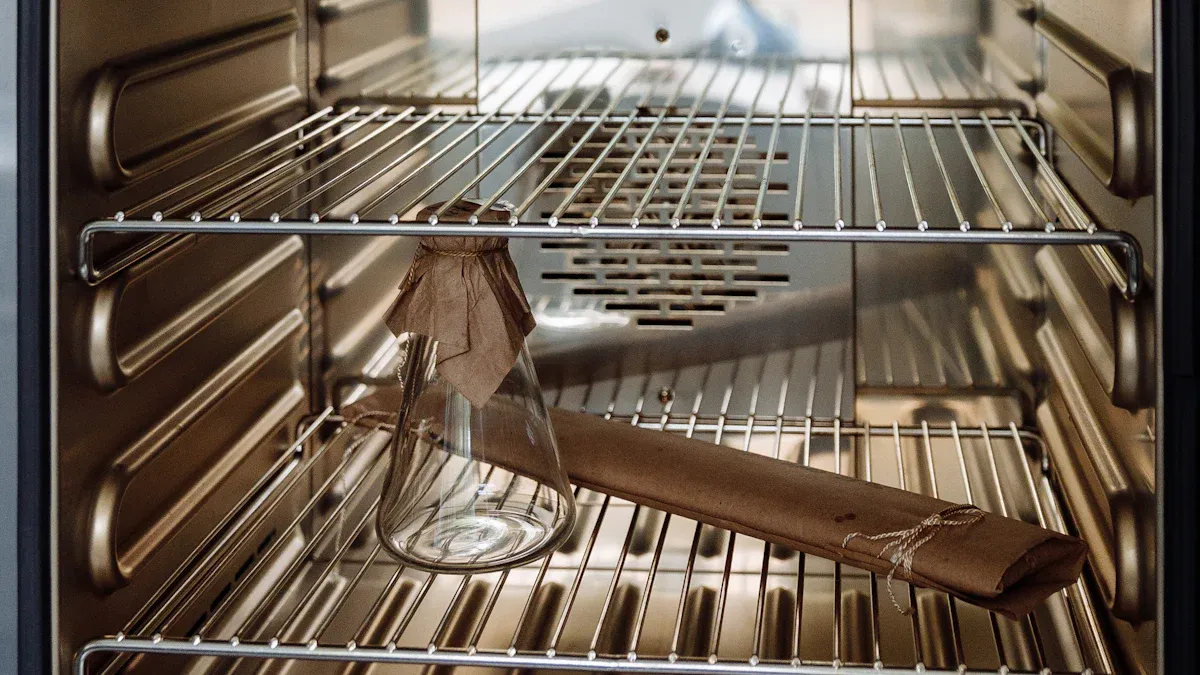
Before anyone can reach the old oven heating element, they need to clear the way. Oven racks sit in front of the element and can block access. Most people find it easy to slide the racks out. They should grip each rack firmly and pull it straight toward them. If the racks feel stuck, a gentle wiggle usually helps. Setting the racks aside in a safe spot keeps them clean and out of the way. Removing the racks also gives more room to work and helps prevent accidental scratches or bumps.
Tip: Place the oven racks on a towel or soft surface to avoid scratching floors or countertops.
Locating and Unscrewing the Element
Once the racks are out, the next step is to find the oven heating element. In most ovens, the element sits at the bottom or along the back wall. It looks like a thick metal loop with two metal prongs or terminals that go into the oven wall. Some ovens have a cover over the element. If so, a screwdriver removes the cover easily.
Here is a simple step-by-step guide for unscrewing the element:
- Find the screws that hold the heating element in place. These are usually near the ends of the element where it meets the oven wall.
- Use a screwdriver to loosen and remove the screws. Place the screws in a small container so they do not get lost.
- Gently pull the element toward you. The element should slide out a few inches, exposing the wires connected to the back.
If the screws feel tight, a little extra care helps. Sometimes, a drop of penetrating oil loosens stubborn screws. People should avoid using too much force to prevent stripping the screw heads.
Note: Some ovens may have the element attached with clips instead of screws. In that case, gently unclip the element.
Disconnecting the Wires
With the element pulled forward, the wires become visible. These wires supply power to the oven heating element. Each wire connects to a terminal on the element with a simple push-on connector or a small screw.
Best practices for disconnecting wires include:
- Grasp the connector firmly with fingers or pliers.
- Pull the connector straight off the terminal. Avoid twisting or yanking, as this can damage the wire or terminal.
- If the connector feels stuck, a gentle wiggle helps loosen it.
- For screw-type connectors, use a screwdriver to loosen the screw before removing the wire.
People should handle the wires gently. Excessive force can break the wire or damage the connector. If the wires look dirty or corroded, a quick cleaning with a wire brush or sandpaper improves the connection for the new element.
Callout: Take a photo of the wire connections before removing them. This makes it easier to reconnect everything correctly later.
Some experts recommend testing the old element with a multimeter before removal. A typical oven heating element should read about 17 ohms of resistance. If the reading is much higher or lower, the element is faulty and needs replacement. Checking for loose connections at the terminals also helps diagnose problems.
By following these steps, anyone can safely remove the old oven heating element and prepare for the new one.
Installing the New Oven Heating Element
Connecting the Wires to the New Element
Now comes the exciting part—connecting the wires to the new heating element. After removing the old element, most people notice two or more wires hanging from the oven wall. These wires carry electricity to the oven heating element. Each wire needs to connect to the correct terminal on the new element.
Here’s a simple way to connect the wires:
- Hold the new heating element close to the oven wall.
- Match each wire to the correct terminal. Many people find it helpful to look at the photo they took earlier.
- Push the wire connectors onto the terminals until they feel snug. If the connectors use screws, tighten them gently with a screwdriver.
- Make sure the wires do not touch any metal parts except the terminals. This helps prevent electrical problems.
- If the wires look loose or frayed, use high-temperature wire nuts to secure them.
Tip: Always double-check that each connection feels tight. Loose wires can cause the oven to stop working or even create a fire risk.
Manufacturers recommend wearing gloves and safety glasses during this step. This protects hands and eyes from sharp edges or sparks. They also suggest letting the oven heating element cool completely before touching it. Safety comes first every time.
Securing the New Element in Place
Once the wires are connected, the next step is to secure the new element. The new oven heating element should fit exactly where the old one sat. Most ovens use screws or clips to hold the element in place.
Follow these steps to secure the element:
- Gently push the new element into the opening in the oven wall.
- Line up the screw holes on the element with the holes in the oven wall.
- Insert the screws or clips that held the old element. Tighten them until the element sits flush against the wall, but do not overtighten.
- If the new element comes with a gasket or O-ring, fit it in place to prevent any gaps.
- Check that the element feels stable and does not wiggle.
Note: Cleaning the mounting area before installing the new element helps it sit flat and work better.
Manufacturers say it is important to make sure the new element matches the old one in shape and size. They also suggest taking a photo of the wiring before closing up the oven. This makes future repairs easier. Always follow the instructions in the oven’s manual for the best results.
A secure oven heating element means the oven will heat evenly and safely. Taking a few extra minutes to check each step helps prevent problems later.
Reassembling the Oven After Installing the Heating Element
Replacing Racks and Covers
After securing the new heating element, the next step involves putting everything back in place. Most people start by sliding the oven racks back into their original positions. Each rack should glide smoothly along the rails. If the oven has a cover or panel that protects the element, they should line it up with the screw holes and fasten it securely. Some ovens use clips instead of screws, so a gentle push might be all that’s needed.
Here’s a quick checklist for this step:
- Slide oven racks into their slots.
- Reattach any covers or panels removed earlier.
- Make sure all screws or clips are tight.
Tip: Wipe down the racks and covers before reinstalling them. This keeps the oven clean and ready for use.
Final Safety Inspection
Before restoring power, everyone should take a moment for a final safety check. They need to look for loose screws, dangling wires, or anything out of place. All parts should feel secure. If something seems off, it’s best to fix it now rather than later.
A simple inspection routine includes:
- Check that the new element sits firmly in place.
- Confirm all wires connect tightly and safely.
- Make sure racks and covers fit without wobbling.
- Look for leftover tools or parts inside the oven.
Once everything looks good, they can plug the oven back in or switch the breaker on. Testing the oven at a standard baking temperature helps confirm the repair worked. If the oven heats up as expected, the job is complete.
Safety Alert: If anyone feels unsure about the installation, they should contact a professional before using the oven.
Testing the New Oven Heating Element
Restoring Power to the Oven
After putting everything back together, it’s time to restore power. They should always follow safety rules when working with electricity. Before flipping the breaker or plugging the oven back in, they need to make sure the area is clear of tools and flammable materials. Only qualified adults should handle electrical panels. If the oven uses a three-prong plug, they should check that the outlet is grounded and not overloaded with other high-power devices.
Here’s a safe way to restore power:
- Double-check that all covers and panels are secure.
- Make sure hands are dry and the floor is not wet.
- Stand to the side of the breaker panel, then switch the breaker to “on” or plug the oven back in.
- Keep at least three feet of space clear around the electrical panel for safety.
Tip: If the oven does not turn on or if there are sparks or strange smells, turn off the power right away and call a professional.
Verifying Proper Operation
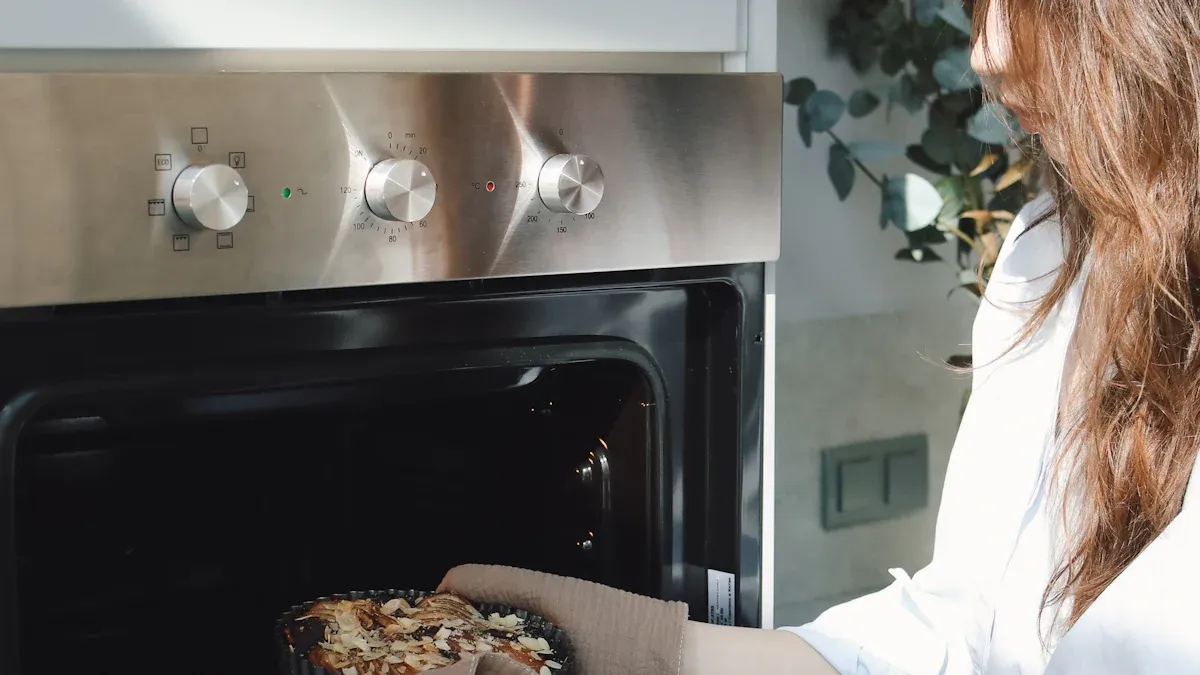
Once the oven has power, it’s time to test the new heating element. They can start by setting the oven to a low temperature, like 200°F, and watching for signs that the element heats up. The element should glow red after a few minutes. If it does not, they should turn off the oven and check the connections.
A simple checklist for testing:
- Set the oven to bake and choose a low temperature.
- Wait a few minutes and look through the oven window for a red glow.
- Listen for any unusual noises or alarms.
- Smell for any burning odors, which could mean something is wrong.
- If the oven has a digital display, check for error codes.
For a more detailed test, they can use a multimeter:
- Turn off the oven and unplug it.
- Set the multimeter to measure resistance (ohms).
- Touch the probes to the element’s terminals. A good reading is usually between 5 and 25 ohms.
- If the reading is much higher or lower, the element may not work right.
Note: If the oven heats up evenly and there are no warning signs, the installation was a success!
Post time: Jun-24-2025